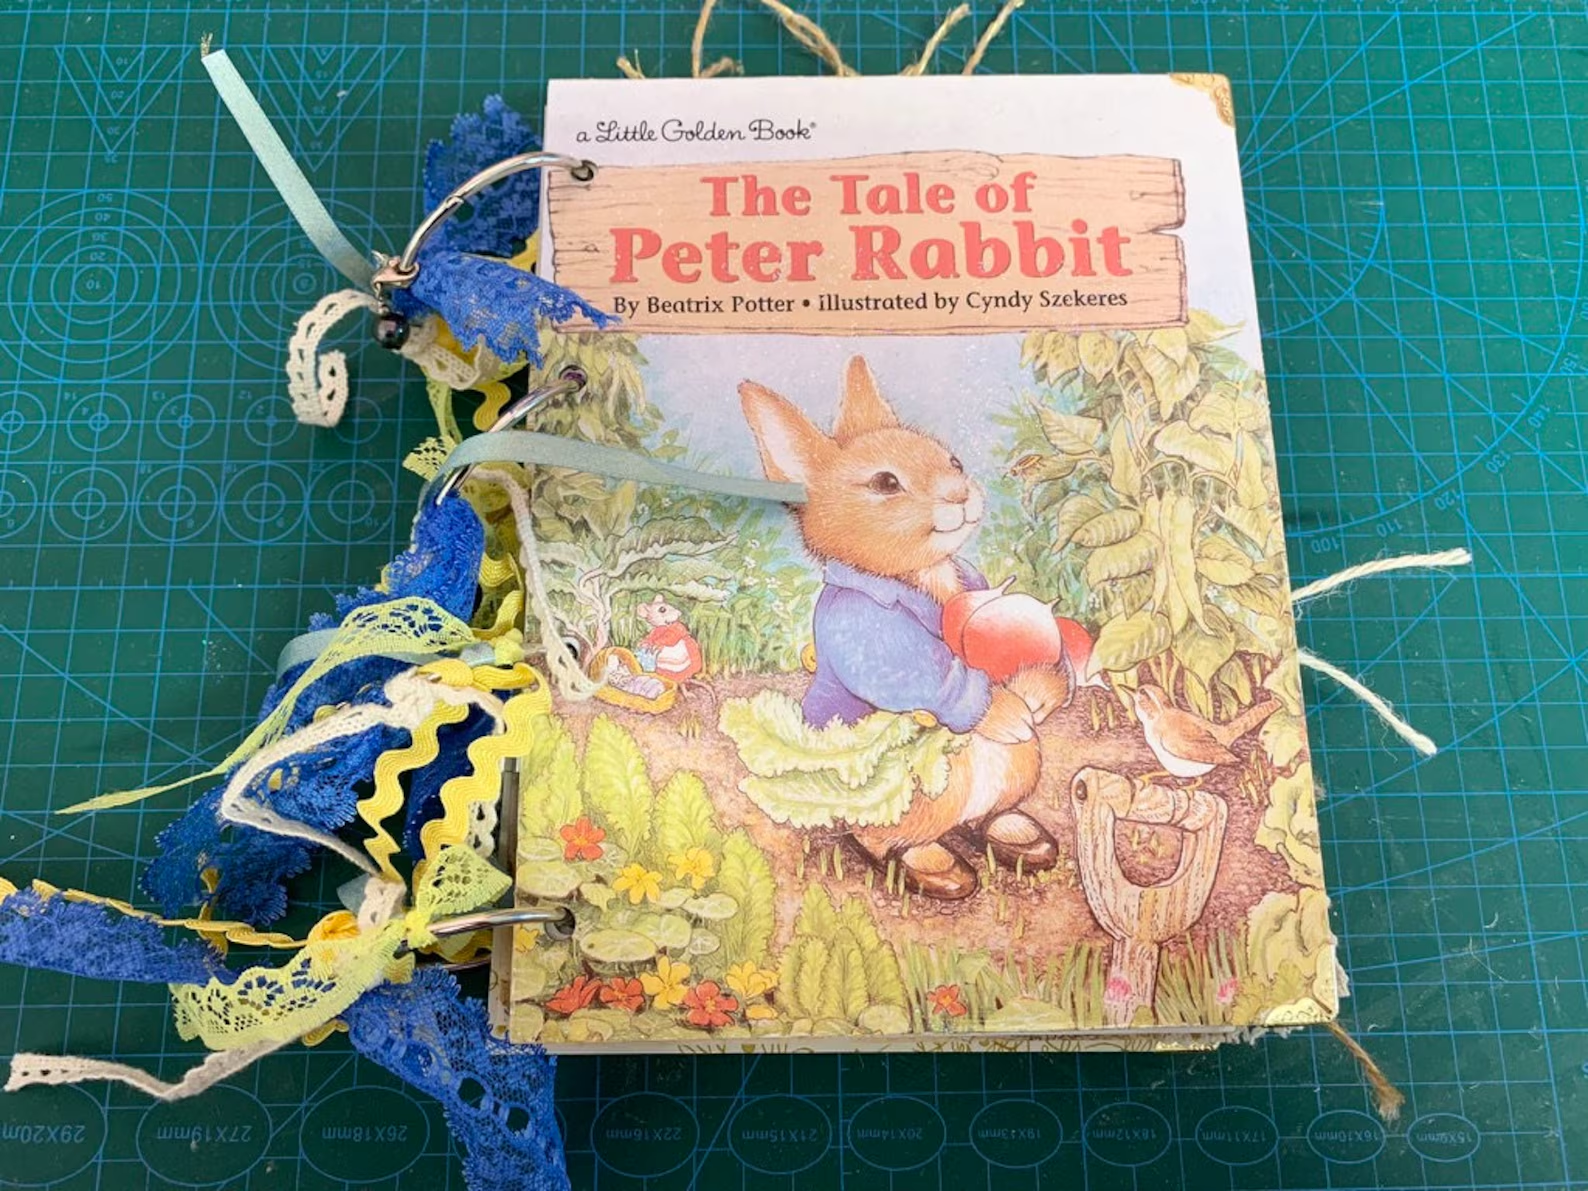
How to Make an Altered Little Golden Book Junk Journal: Step-by-Step Guide
Making an altered Little Golden Book junk journal is a fun and creative project that allows you to repurpose a beloved childhood book into something beautiful and functional. Here’s a step-by-step guide to creating your own:
Materials:
– 1 Little Golden Book (any title you love)
– Scissors
– Craft glue (like Mod Podge)
– A stapler or strong binding thread
– Hole punch
– Embellishments (stickers, washi tape, stamps, fabric scraps, etc.)
– Various papers (scrapbook paper, tea-dyed paper, graph paper, etc.)
– Ribbon or fabric for closure (optional)
– Eyelets (optional for adding decorative touches to the binding)
– Decorative papers (for pockets, tags, and journaling spots)
– A sewing machine or needle and thread (optional for added texture)
Instructions:
1. Prepare Your Book:
– Choose a Little Golden Book that you’d like to alter. You can use a thrifted one, an old book you have at home, or a new one.
– Carefully remove the front cover, back cover, and pages from the spine using scissors or an X-Acto knife. You want to have the pages and covers loose for easier crafting.
2. Trim the Pages:
– Depending on your style, you may want to trim the pages to size, making them slightly smaller or uneven for a more eclectic look. Use scissors or a paper trimmer to do this.
– You can also tear some of the pages to create a distressed, aged look.
3. Rebind the Pages:
– You can use a variety of binding techniques. Here are a few options:
– Stapler: If you’re looking for a quick and easy binding, simply fold your pages in half and staple them together along the crease. Then, use your stapler to attach the folded pages into the book’s spine.
– Thread Binding: For a more durable option, punch two holes along the spine of the pages and use a needle and thread to stitch the pages together. You can even add a decorative stitch pattern for extra flair.
– Sewn Signatures: If you want to sew signatures (groups of pages), fold your papers and group them together. Punch holes in the spine of each signature and bind them with a needle and thread.
4. Decorate the Pages:
– Alter the pages by adding decorative elements such as washi tape, stamps, stickers, or even fabric scraps. You can also layer torn papers, old book pages, or journaling cards onto the pages.
– Create pockets by gluing the sides of some pages or adding envelopes. These pockets can hold tags, photos, or other small keepsakes.
– Add journaling spots and places for writing by gluing on extra pieces of paper or using die cuts.
5. Add Embellishments:
– Embellish your pages with lace, ribbon, buttons, or fabric. You can sew on fabric or attach embellishments with glue to add texture and interest.
– Use rubber stamps, ink, or other media to add personal touches to the pages.
6. Make a Closure (Optional):
– If you want to add a closure, tie a piece of ribbon, string, or fabric around the journal, or attach an elastic band to the back cover.
– You can also sew a fabric or leather tab to the spine to wrap around the book to keep it closed.
7. Create Tags and Inserts:
– Add tags, mini-journals, or extra inserts to the pockets you’ve created. These can be used for journaling, photos, or additional embellishments.
– You can use leftover scraps of paper from the pages to make tags and journaling cards.
8. Final Touches:
– Once everything is glued, sewn, or attached, give your journal a once-over to ensure all elements are secure.
– You can distress the edges of the pages by lightly rubbing them with an ink pad or sandpaper for an aged look.
Enjoy Your Altered Little Golden Book Junk Journal!
Your journal is now ready to be used for journaling, as a keepsake, or even as a gift! The beauty of a junk journal is that each page can be a work of art, allowing you to express yourself creatively while repurposing an iconic book.